In this tutorial I explain how to install WordPress on BlueHost.The goal is to create an online artist’s portfolio using WPFolio created by Eyebeam.
Installing WordPress
If you are not signed in at BlueHost, go to http://www.bluehost.com and click the “Control Panel Login” button at the top right. Sign in with your domain name and password.

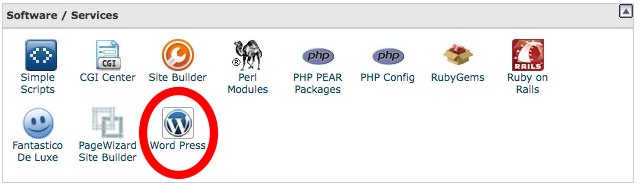
On the main cPanel page, scroll down to “Software Services” and click the “WordPress” button.
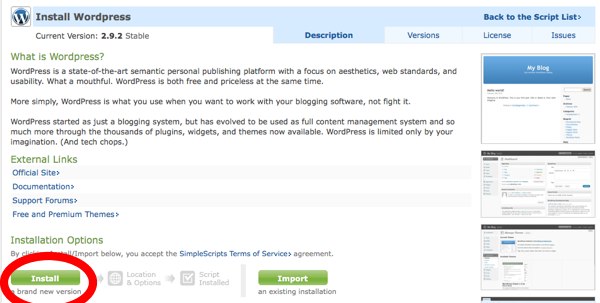
Click the “Install” button on the “Install WordPress” page.
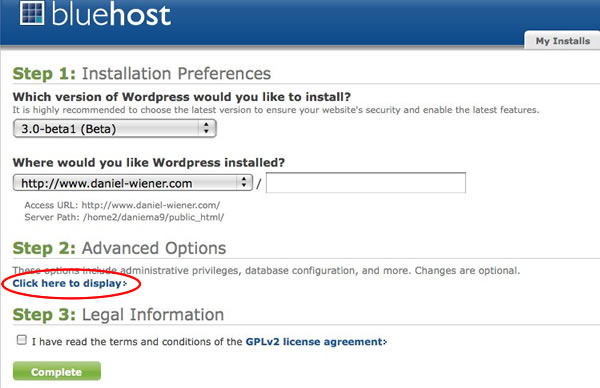
Choose the most recent version, even if it is the “beta” version. It is good to be up to date. – In this instance it is 3.0-beta1.
Under “Step 2: Advanced Options” click “Click here to display>”. Don’t worry it is not very advanced.
In Step 1:
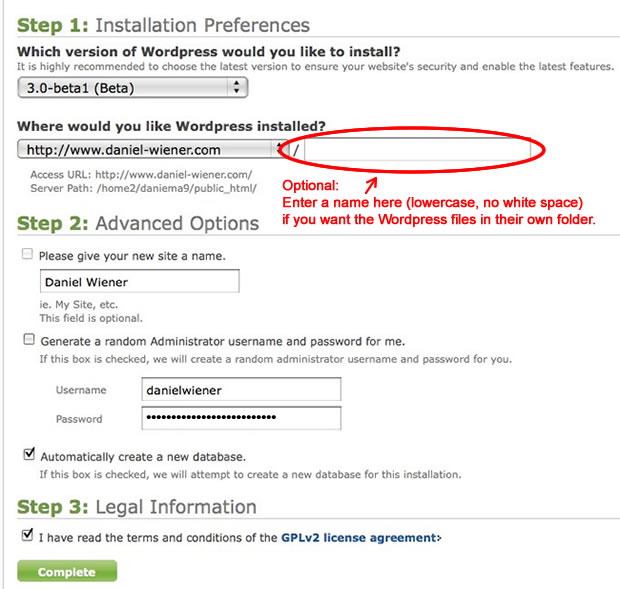
Optional – fill in a foldername where you want to host your WordPress files.
Pros – Your wordpress files will be consolidated and organized.
Cons – It is harder to set up – with some techy- stuff – e.g. writing htacess files
DON’T fill it in, if you are anxious about tech stuff.
In Step 2) Advanced Options:
Choose a name for your site. For artists it is usually their own name – it will appear in the header and in the title bar. You will be able to change this later, if you change your mind.
Choose a username and password.
DO NOT USE “admin”, the default, it will make it easier for hackers.
Write down your username and password someplace safe that you will remember. Make sure to note that this logon is for WORDPRESS.
BlueHost will send you an email with the logon, as well. Save the email, too.
Check “Automatically create new database” (don’t forget).
In Step 3) Legal Information:
Check “Terms and Conditions”
Then click “Complete”
NOTE: Installing WordPress in its own folder, an optional preference expalained above, can cause a problem. If a user goes to http://www.yoursitename.com they will see a generic “Site Coming Soon” screen while the content of your site is located at http://www.yoursitename.com/folder-name/. There are 2 ways to solve this that are explained in the comment section of this page.
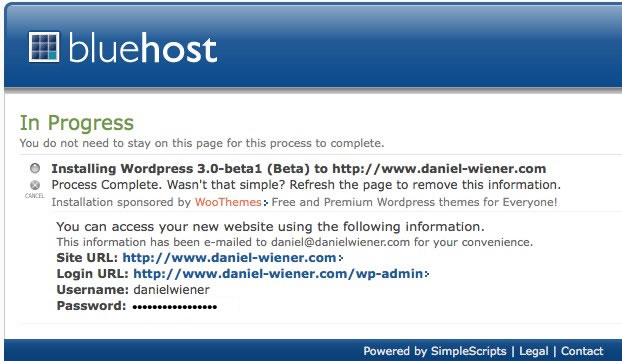
In the next screen BlueHost lists the url’s for your WordPress site and your logon info. Save the url’s or bookmark them. It takes a few moments for BlueHost to install WordPress. To check if it is installed click on the Site Url or the Login Url. Also BlueHost will send you an email to inform you that WordPress is installed.
Once the installation is complete if you return to the main page for “Simple Scripts” you will see a list of MY Installs – which will include “WordPress”.
https://www.simplescripts.com/account/main
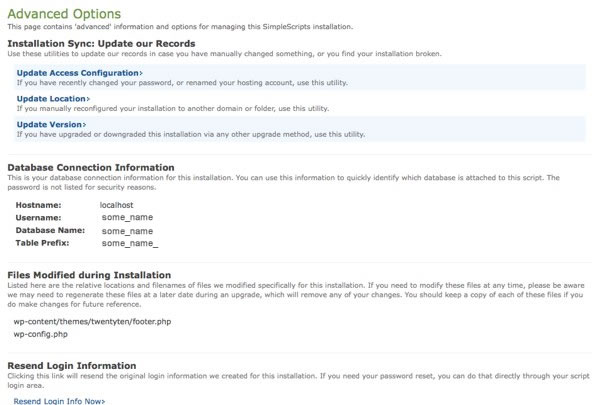
NOTE: if you click “Advanced” you will see a list of important info about your installation, as shown below. This is good to know about if you are trouble-shooting or have a question for me. There is also a “Resend Login Info Now” button, if you forget your WordPress logon.
Congratulations. You are done installing WordPress.
Check WordPress:
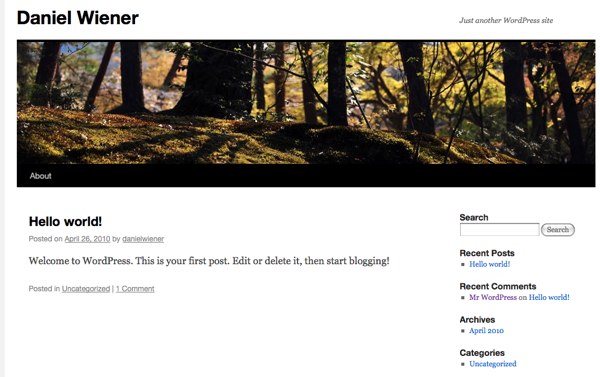
Once BlueHost has installed WordPress ,check the front page. Go to http://www.yourdomainname.com/ (or http://www.yourdomainname.com/wordpress_folder/ if you created an install folder.
If you installed WordPress 3 you should see something like this:
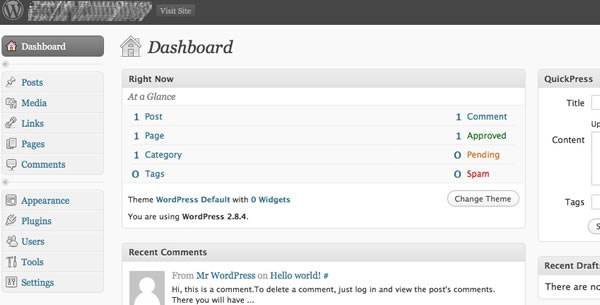
And you can check the admin section of WordPress as well. Go to:
http://www.yourdomainname.com/wp-admin/ (or http://www.yourdomainname.com/wordpress_folder/wp-admin/ if you installed wordpress in a separate folder.
Enter your WordPress username and password and you should see a screen like this:
Next is installing WPFolio and plugins.